

How to illustrate the novel: from the canon to the frames
The “Illustrations” section works in two modes. In “Fast” you approve the characters and the places, and the pictures for all the scenes are drawn at once. In “Detailed” the book goes step by step from the top down: first the traits and the descriptions of the characters and the places, then the frames of the scenes. The preparation is done once per novel — thanks to it a character stays recognisable from picture to picture. Every lock names its reason and has a button that lifts it.
-
In the novel sections, open “Illustrations”. The switch under the title picks the mode: a new novel opens in “Fast”, a novel with drawn pictures opens in “Detailed”. Pictures and settings are shared between the modes, and switching erases nothing.
-
The novel is not finished yet — click Start illustrating before the novel is finished. The button starts nothing, it only allows work on scenes before the finish.
-
The “Fast” mode. The “Settings” step: choose the style, the models and how many pictures, then click Start → — the prompts of all the pictures are written and the characters and places are drawn. The “Characters and places” step: check and approve them, all the frames are drawn from them. The “Drawing” step goes on its own, and everything ready shows in the book at once. At the end you may see this note: Done, but not every image is in the book — press “Draw the missing ones”. The button counts everything not yet in the book and draws only that.
-
The “Detailed” mode. The section itself shows the first step that is not closed, and the “What’s next” block above the steps tells you the next manual move. The “Traits registry of characters and places” step: click Compose from the canon. The assistant writes out from the canon the traits by which characters and places will be recognised in pictures. Look the list over and approve it.
-
The “Descriptions of characters and places” and “References of characters and places” steps: each has a button that builds all the cards at once. A description is the appearance put into words; a reference is a portrait or a view of a place, and every frame is checked against it afterwards.
-
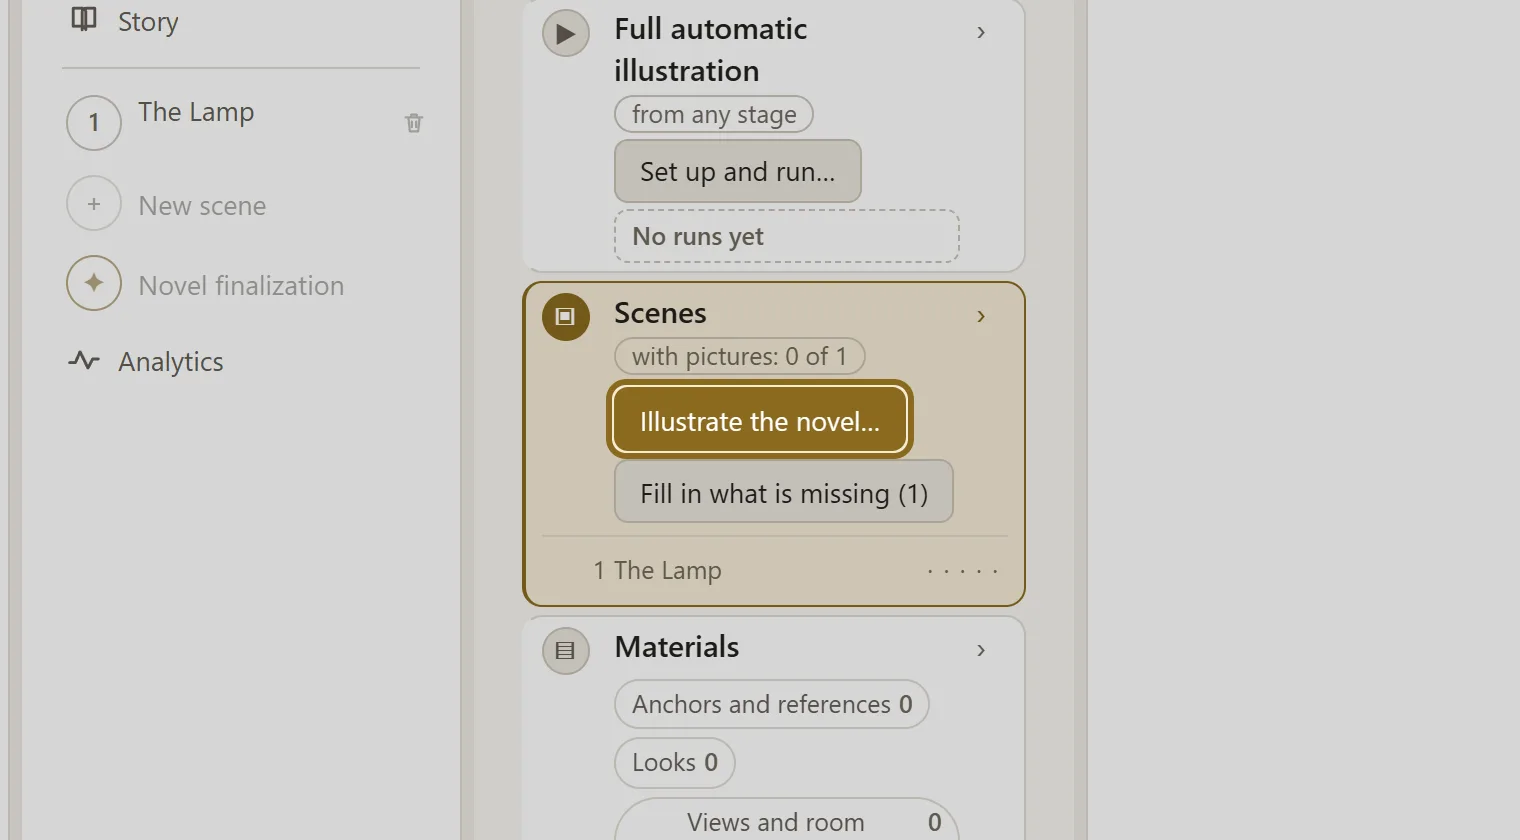
The whole novel at once — the “Illustrate the whole novel automatically” panel above the steps. It shows what is ready already, what the automaton will do itself and where it starts. Click Set up and run… — the launch map opens on the right; the automaton starts drawing only after Run the full automation and takes accepted scenes only. It works best after the guide and the references, but you can start at any moment. While it runs, the manual buttons of the steps are locked, and pause, stop and the journal are in the same panel.
-
The run is long and goes on its own: you can close the tab, the pictures appear as it goes. If you would rather lead one scene by hand, click Console → next to it in the “Scenes” block. When some scenes are done and others are not, the main button in the “Scenes” block becomes the one that fills in the rest, with the number of unfinished scenes on it. It opens the same launch map for those scenes only; whatever is ready gets skipped.